How to Create Daily Reports
Elevate your organization's remote work dynamics with this feature from Cloudica™.
What is a Daily Report?
The Daily Report is a feature that tracks the hours worked and tasks done by employees, providing a detailed record of their time spent on various tasks and applications.
The Daily Report helps organizations monitor productivity, manage remote teams effectively, and ensure accurate time tracking for payroll and project management.
Creating a Daily Report
There are different ways to create your Cloudica™ Daily Report.
Through the Daily Reports Drawer
Additional Methods for Creating a Daily Report
Through the Daily Reports Drawer
When you open My Daily Reports from the User Menu, you'll see the Daily Reports Drawer on the right side of the page. From there, you can view or create task reports for the day. It allows you to select or showcase apps and screenshots captured by Cloudica™ to include in their daily report. It is found on the right side of the page.
To create your daily report from the drawer, do the following:
1. Click the ‘ + ’ button on the top right corner of the page. A menu will appear with different report options.
2. Choose your report type:
- By Apps Used
- By Time Range
 Creating a Daily Report By Apps Used
By choosing By Apps Used, your report will be based on the applications you used during your work time.
Do the following steps to make your report:
 1. From the + menu, click the ‘By Apps Used’ option.
2. Enter the Report or Task Title and Summary.
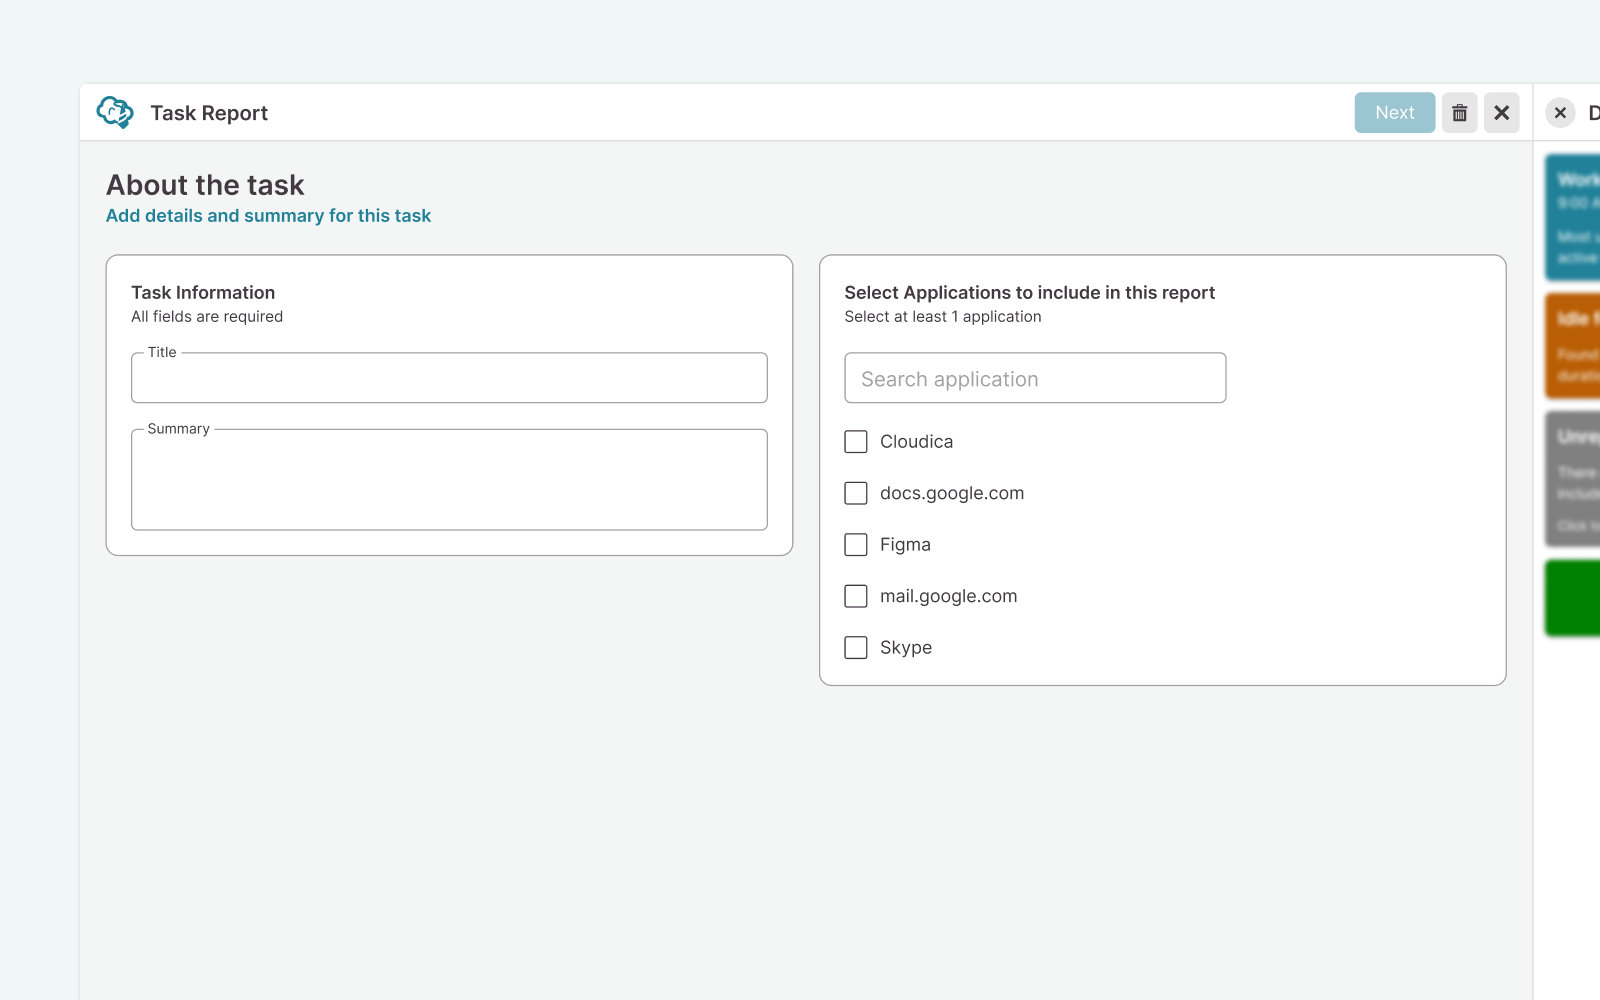 3. Select the apps you want to include in your report by clicking the checkbox.
4. Click the Next button in the header.
5. In the application box, click the Screenshots button.
 The maximum number of screenshots you can add to a Task Report is 50.
6. Select the screenshots by clicking the checkbox.
 Use the "Scroll to Time" button to jump to the specific point in the timeline when the screenshots were captured. Use the Reset button to deselect all previously selected screenshots
7. Click the Done button.
8. Add Notes for the application screenshots.
9. Repeat steps 5 to 8 for other applications as needed.
10. Click the Save button.
After saving, your report will appear in the Daily Reports Drawer.
Creating a Daily Report By Time Range
If you choose the By Time Range option, you can create your report based on the time spent on a task. Follow the instructions below to get started.
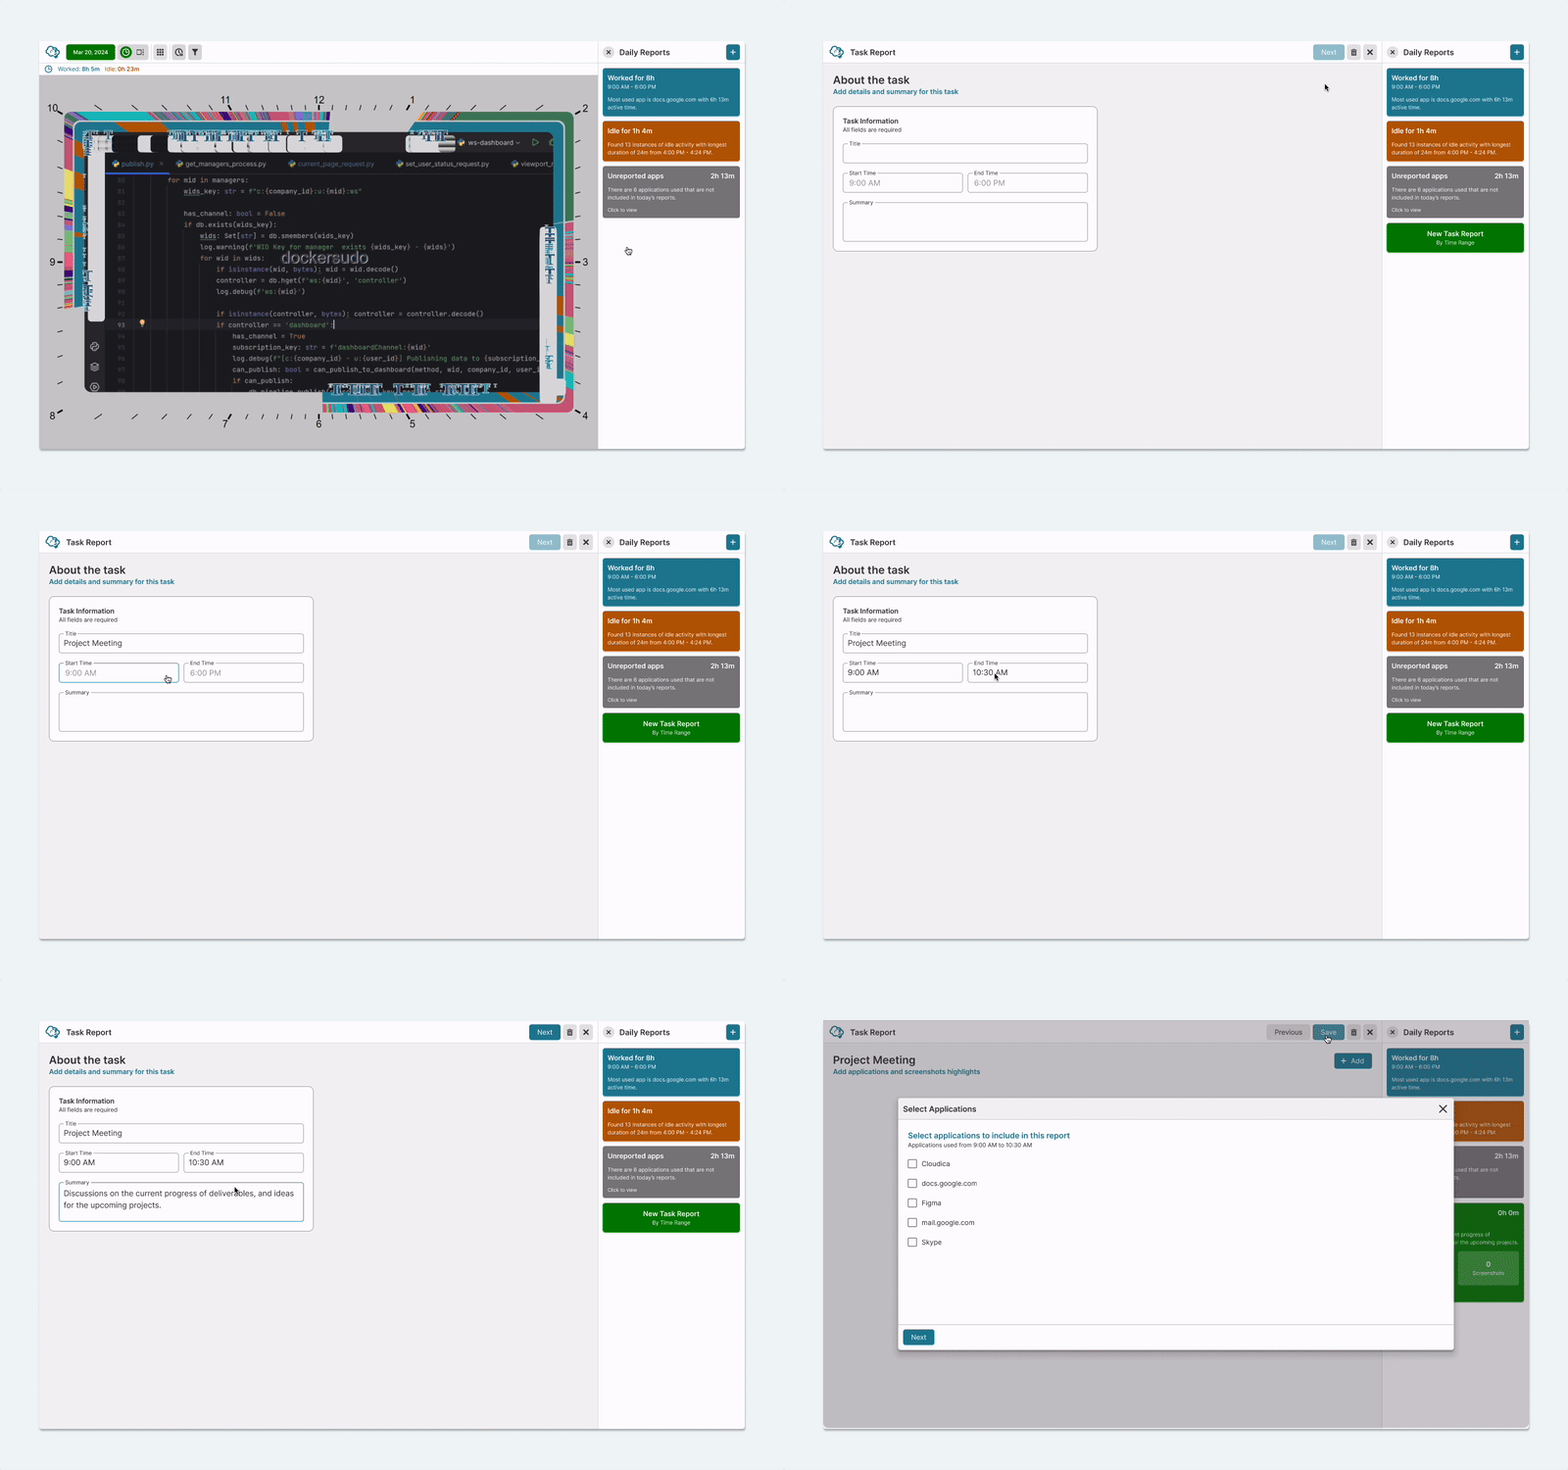 1. From the + menu, click the ‘By Time Range’ option.
2. Enter the Report Title, edit the Start and End Times to the desired period, and write a Summary.
 3. Click the Next button in the header.
 4. Select the apps you want to include in your report by clicking the checkbox.
5. Click the Next button.
6. Select the screenshots by clicking the checkbox.
The maximum number of screenshots you can add to a Task Report is 50.
7. Click the Done button.
Use the "Scroll to App" button to jump to the screenshots of a specific application. Use the Reset button to deselect all previously selected screenshots.
8. Add Notes for the application screenshots.
9. Click the Save button.
Learn how to use the Daily Reports Drawer.
Additional Methods for Creating a Daily Report
After opening My Daily Reports from the User Menu, you may use these alternative ways to make your Daily Report.
Through Filter by Time Range
You can select the time range through Filter by Time Range before creating the report. To do this, follow the steps below:
 1. Click the Filter by Time Range button on the right side of the page header.
 2. Input the time range you want to include in your Daily Report, or use the Time Range Slider.
The white dot of the Time Range Slider represents the start, and the pink dot represents the end of the time range.
3. Click the Time Range Select button beside the time range input.
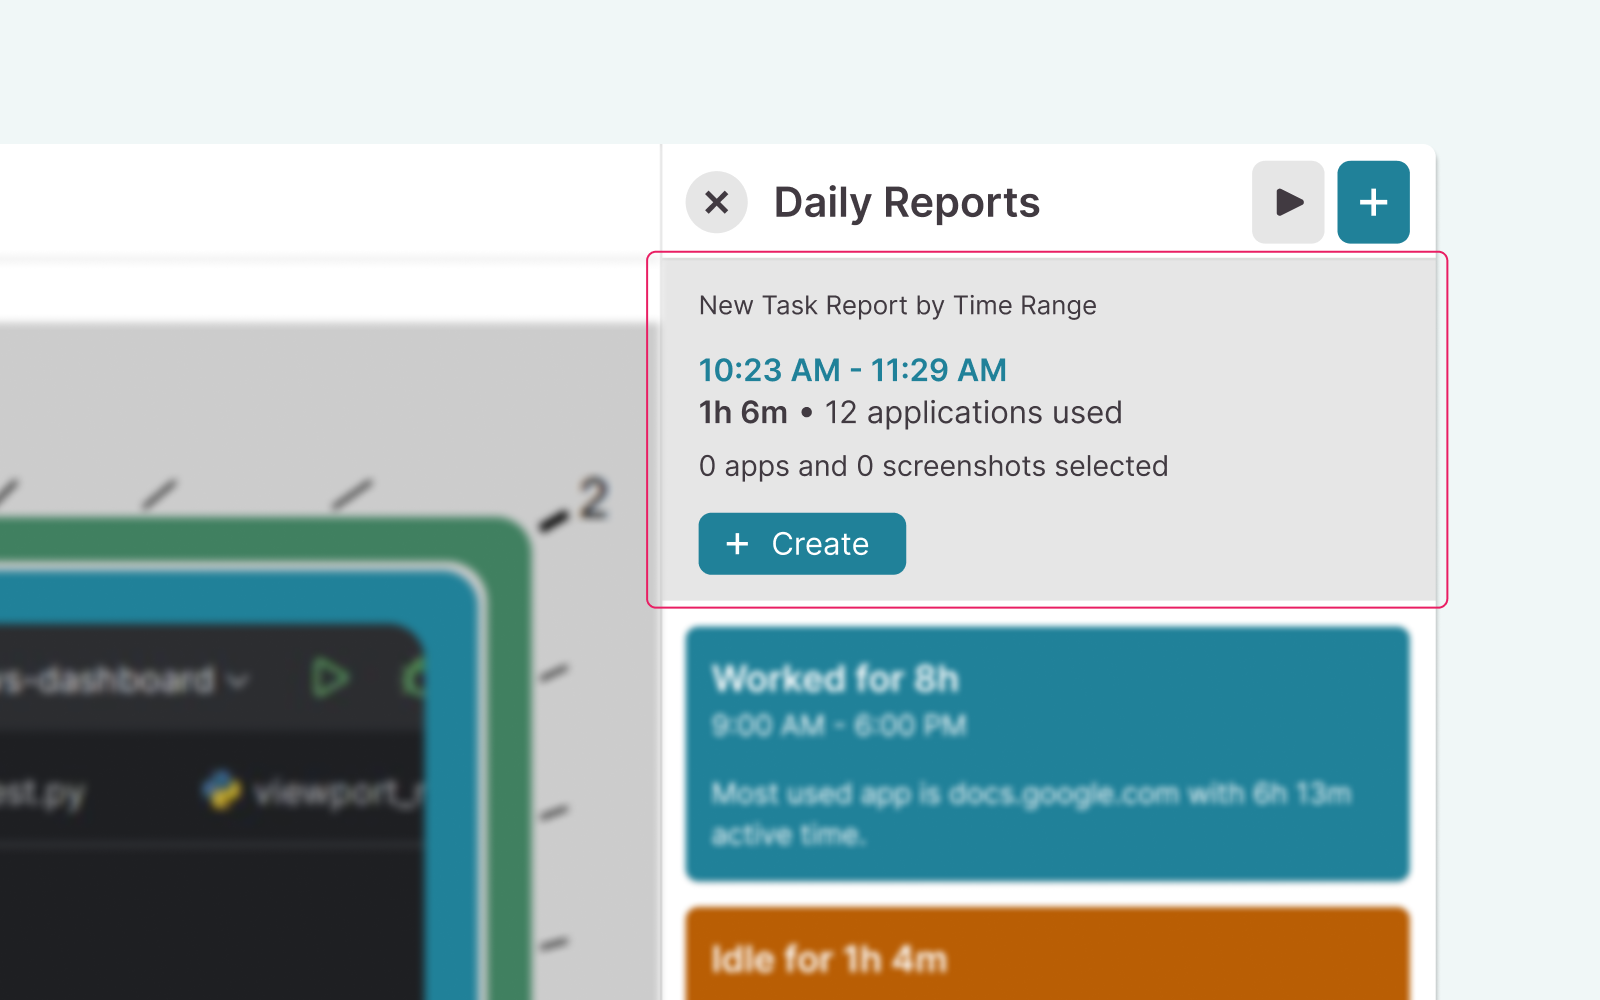
 A new task report entry will appear in the Daily Reports Drawer for the chosen time range, showing:
- The time range
- The number of hours
- The number of applications used
- The number of selected apps and screenshots
- The Create button
 4. Click the Show Screenshot Gallery button to display the application screenshots captured within the selected time range.
 5. Select the application screenshots you want to include by clicking the checkbox on the upper right corner of each screenshot.
6. Click the screenshot to open the full-page view and click the Select button in the header.
- Use the arrow buttons to navigate through the screenshots.
- Click the x button to close the screenshot view.
7. Click the Create button from the New Task Report card to load the task information page.
 8. Enter the Report Title, edit the time range if needed, and write a Summary of your report.
9. Click the Next button in the header.
10. Add Notes to the pre-selected application screenshots.
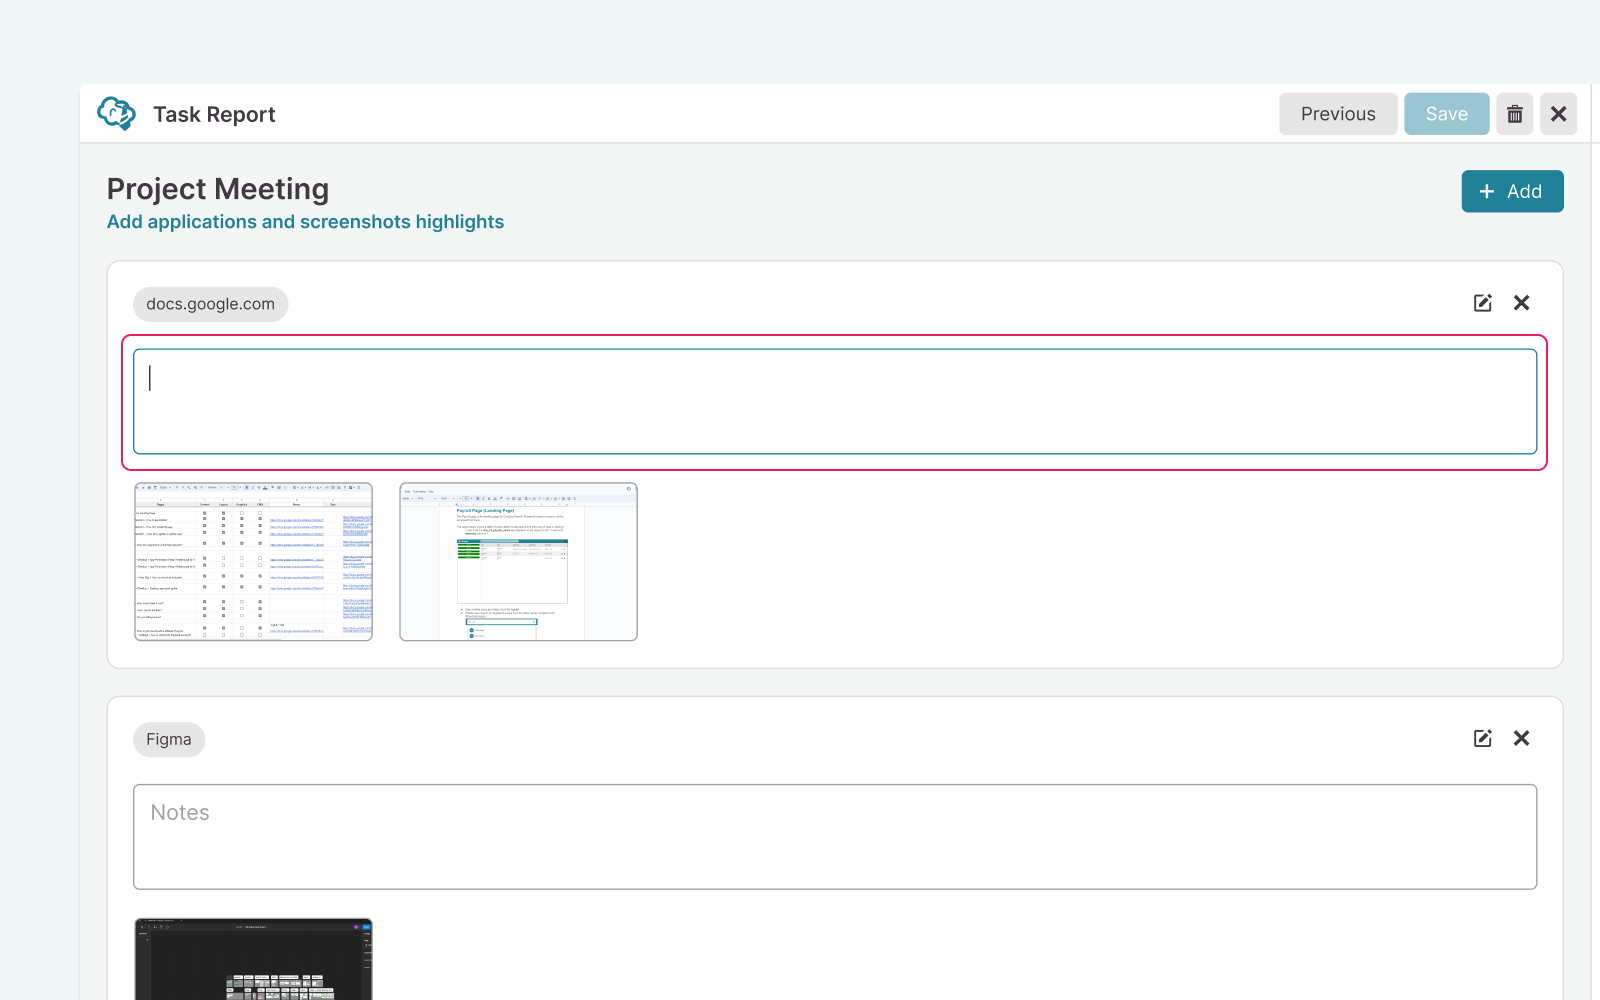 11. Click the Edit, Delete, or Add buttons to modify the selected application screenshots.
12. Click the Save button.
Through Timesheet Block
In the Clock or Timeline View, you’ll see a visual presentation of your work or active time in teal-colored bars or blocks around the clock.
 1. Click the Timesheet Block or bar you want to make a report of on the Clock or Timeline.
 2. Click the Create button from the New Task Report card in the Daily Reports Drawer.
3. Proceed with filling out the report with information and application screenshots.
4. Save your Daily Report.
Through Application Filter
You can select the application/s through Filter by Application before creating the report. Just follow the steps below:
 1. Click the Filter by Application button on the header.
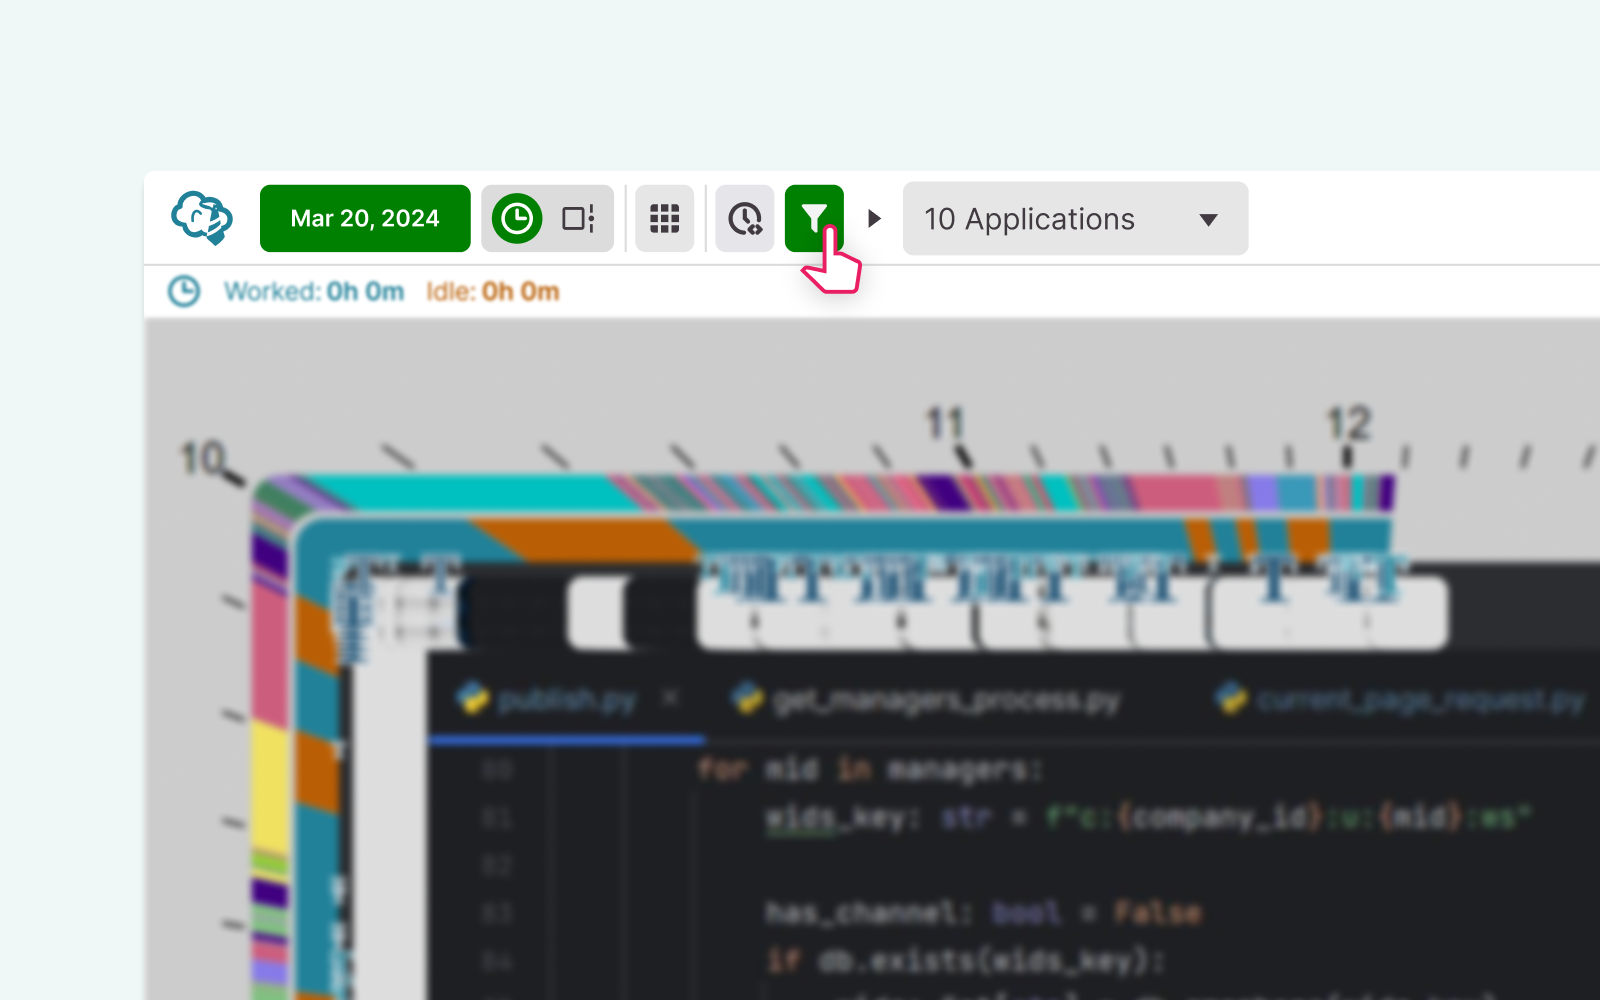 2. Open the Application dropdown menu and select the application/s you want to include in your report.
3. Click the Show Screenshot Gallery button to display the screenshots captured within the selected time range.
4. Select the application screenshots by clicking the checkbox on the upper right corner of each screenshot.
 5. Click the screenshot to open the full-page view and click the Select button in the header.
- Use the arrow buttons to navigate through the screenshots.
- Click the x button to close the screenshot view.
 6. After selecting the screenshots, click the Create button from the New Task Report card to load the task information page.
7. Proceed with filling out the report with information and application screenshots.
8. Save your Daily Report.
 Through Application Block
In the Clock or Timeline View, you’ll see a visual presentation of your applications in bars or blocks around the clock. The length of the bar represents the time spent on that app. The bar colors differ from each other to show the varied applications you used.
To use the Application Block to create your report, do the following:
 1. Click the Application Block or bar on the Clock or Timeline you want to make a report of.
 2. Click the Create button from the New Task Report card in the Daily Reports Drawer.
3. Proceed with filling out the report with information and application screenshots.
4. Save your Daily Report.
Copyright © 2024 Cloudica LLC


